MyObservability
Trail Setup - Web Applications
Setup easyTravel (Local)
Dynatrace provides a sample application called “easyTravel”
- Install Oracle Virtualbox
- Install a OS in Oracle Virtualbox (Debian/Ubuntu/Centos)
- Download easyTravel Demo
- execute “java -jar dynatrace-easytravel-linux-x86_64.jar”
- execute “/bin/bash installChromeDeps.sh” in < easytravel install dir>/resources directory. NOTE: you need root privileges to run this script.
- Run easyTravel
run < easyTravel-InstallationDirectory>\weblauncher\weblauncher.sh - Click on the scenario you want to run (e.g. “Standard”)
- Now all the tiers of easyTravel are starting up and when you run it for the first time easyTravel will populate the internal database with a good amount of test data - so this may take a minute or two for the first run.
To generate heavy load on the application go to the easyTravel launcher and switch to the Black Friday Scenario by clicking on the link “Black Friday”.
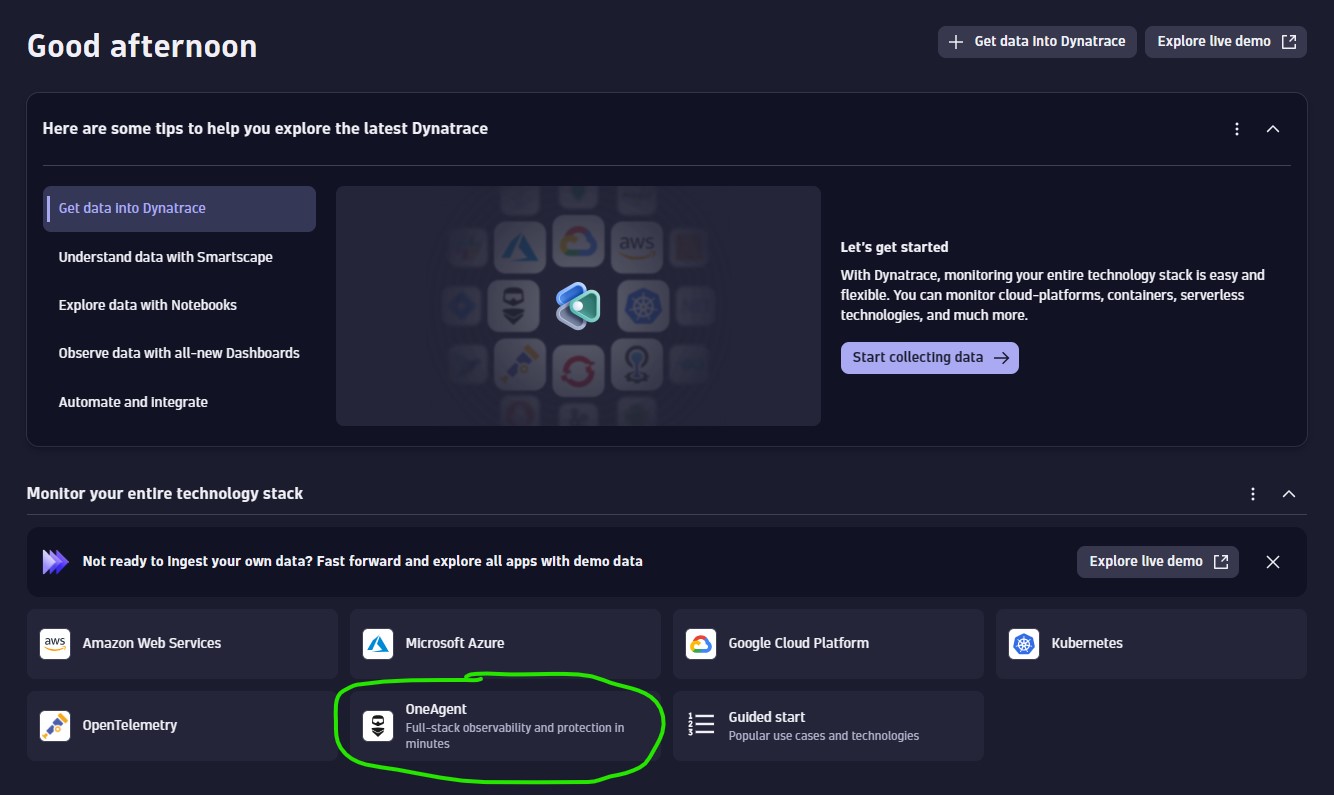
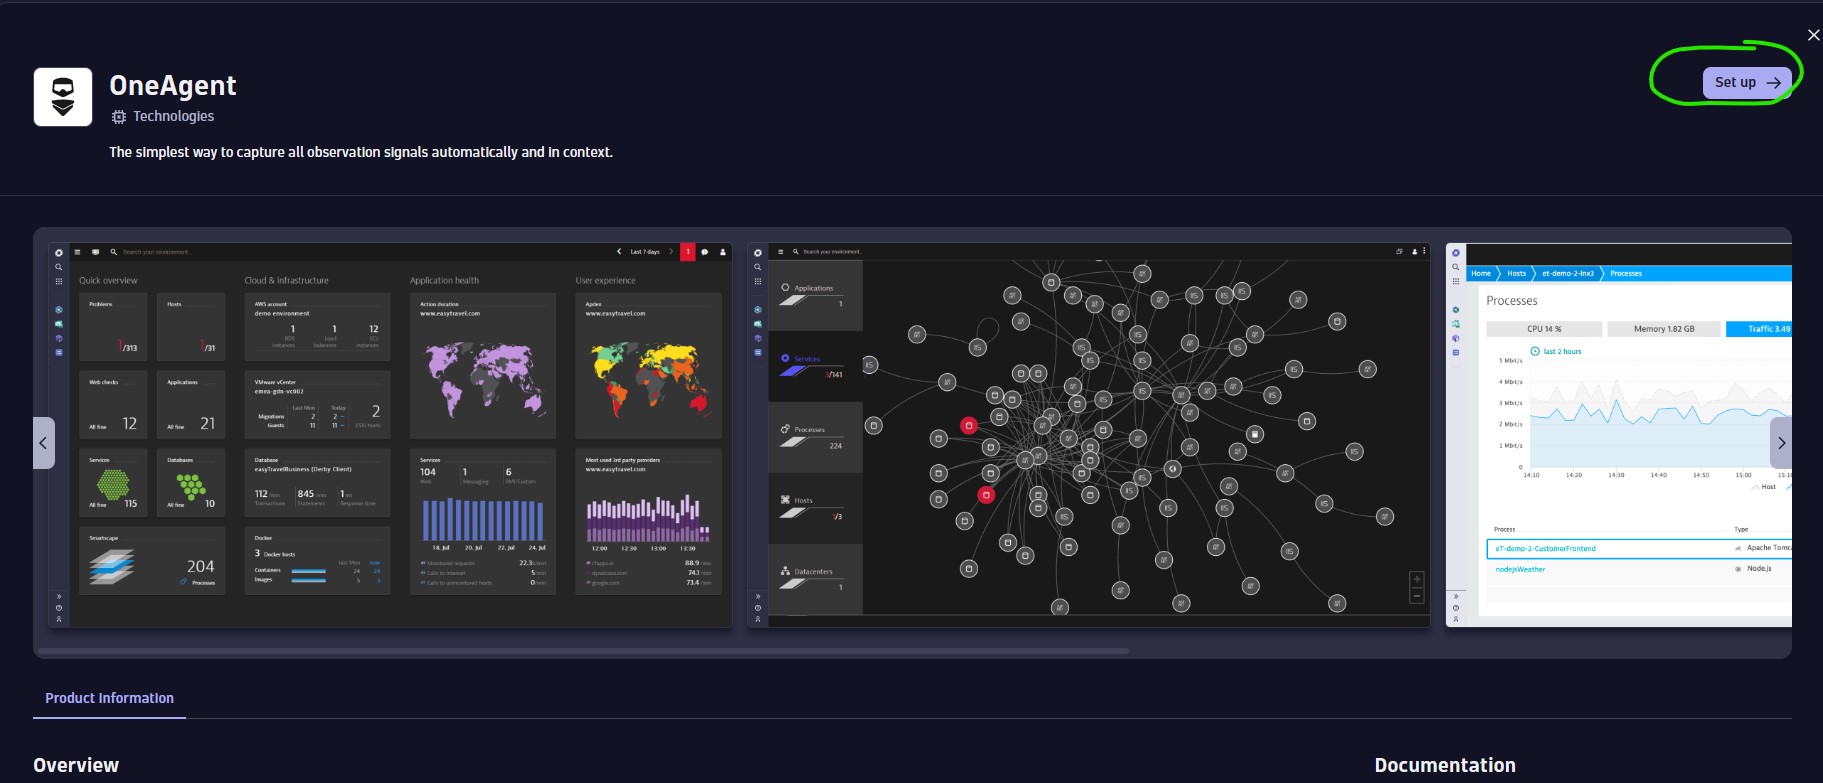
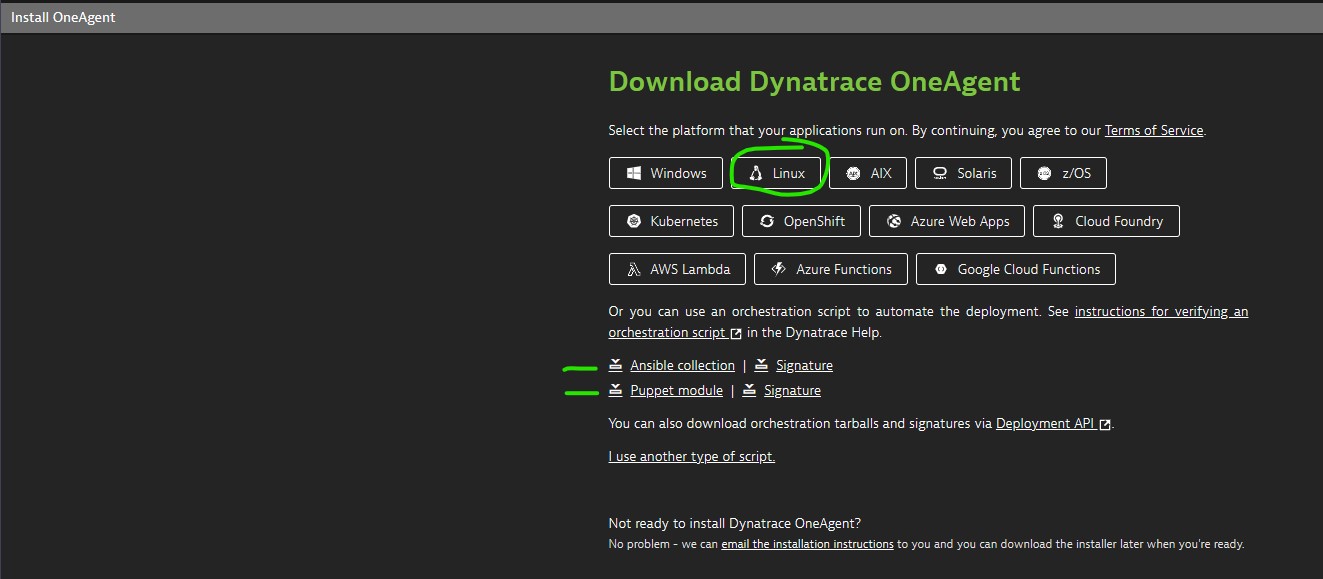
Install OneAgent
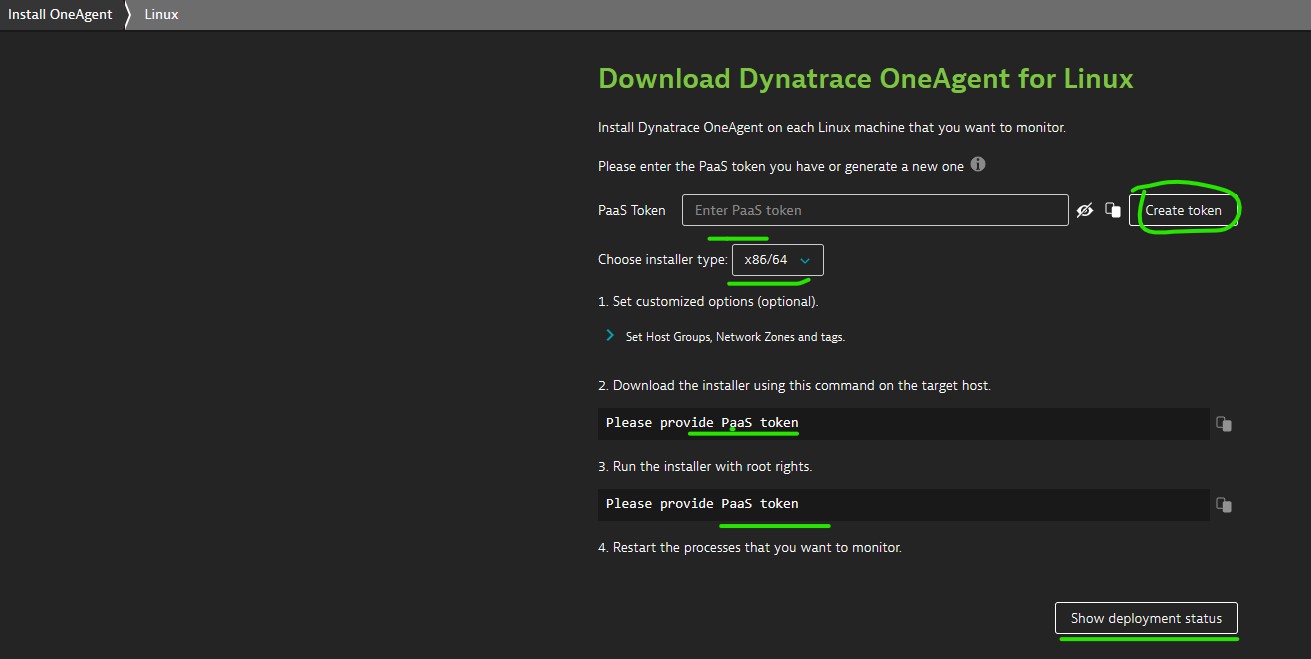
- Follow Install OneAgent on Linux
Ex:
-
Follow the steps
-
Execute: /bin/sh Dynatrace-OneAgent-Linux-xxxxx.sh –set-monitoring-mode=fullstack –set-host-group=MyProdEnv –set-app-log-content-access=true
Options:
- To set monitoring type use
--set-monitoring-mode=fullstack- fullstack –> Full stack observability monitoring
- infra-only –> For infrastructure only
- To assign a host to a host group use
--set-host-group=MyHostGroup - To set custom host name use
--set-host-name=MyHostNameor create hostname.conf file in /var/lib/dynatrace/oneagent/agent/config and add the name. - OneAgent Communication endpoint
--set-server=https://100.20.10.1:443 - Tenant token
--set-tenant-token=abcdefghij123456 - Network zones: If you have different regions & setup active gate in different regions, if you do not want traffic to travel around the world, set different network zones and use
--set-network-zone=your.network.zone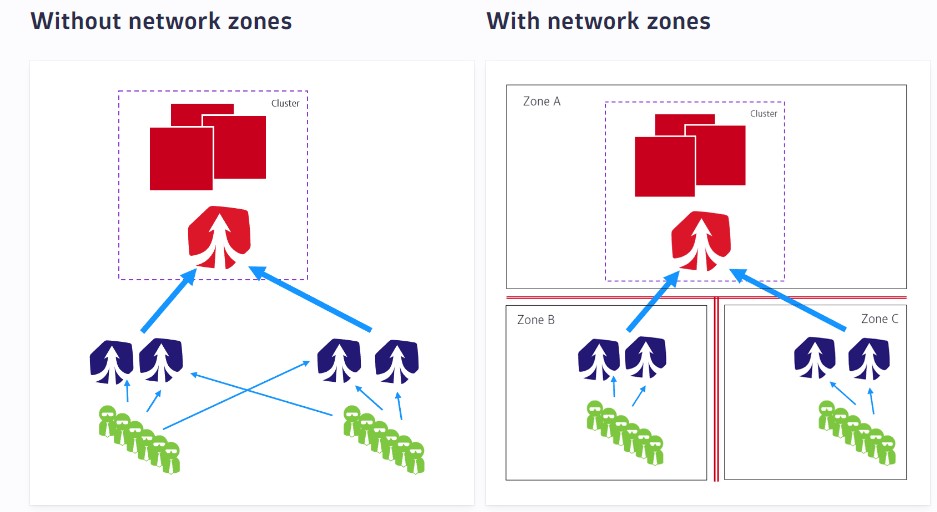
- Proxy use
--set-proxy=172.1.1.128:8080 - Oneagent auto update use
--set-auto-update-enabled=true - Custom host metadata use
--set-host-property=AppName --set-host-property=Environment=Dev
Custom path
- Installation path use
INSTALL_PATH - To customize the log path, use the
LOG_PATHparameter.
Setup custome Apps
Apache (Linux)
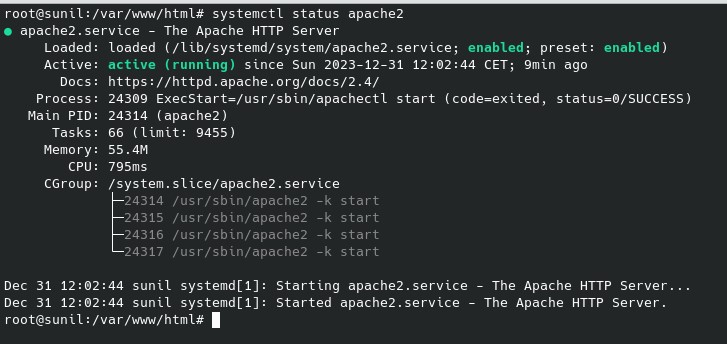
- Install Apache
- Change configurations according to requirement (For linux use: /var/www/html/index.html)
- Restart Apache services
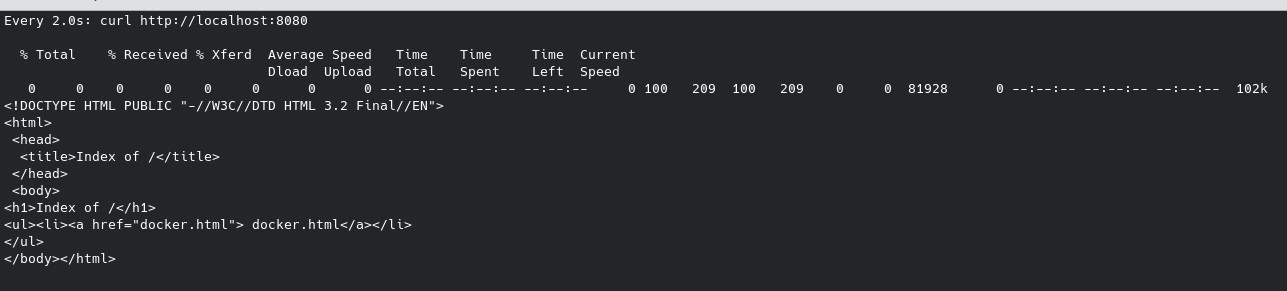
- Generate traffic using
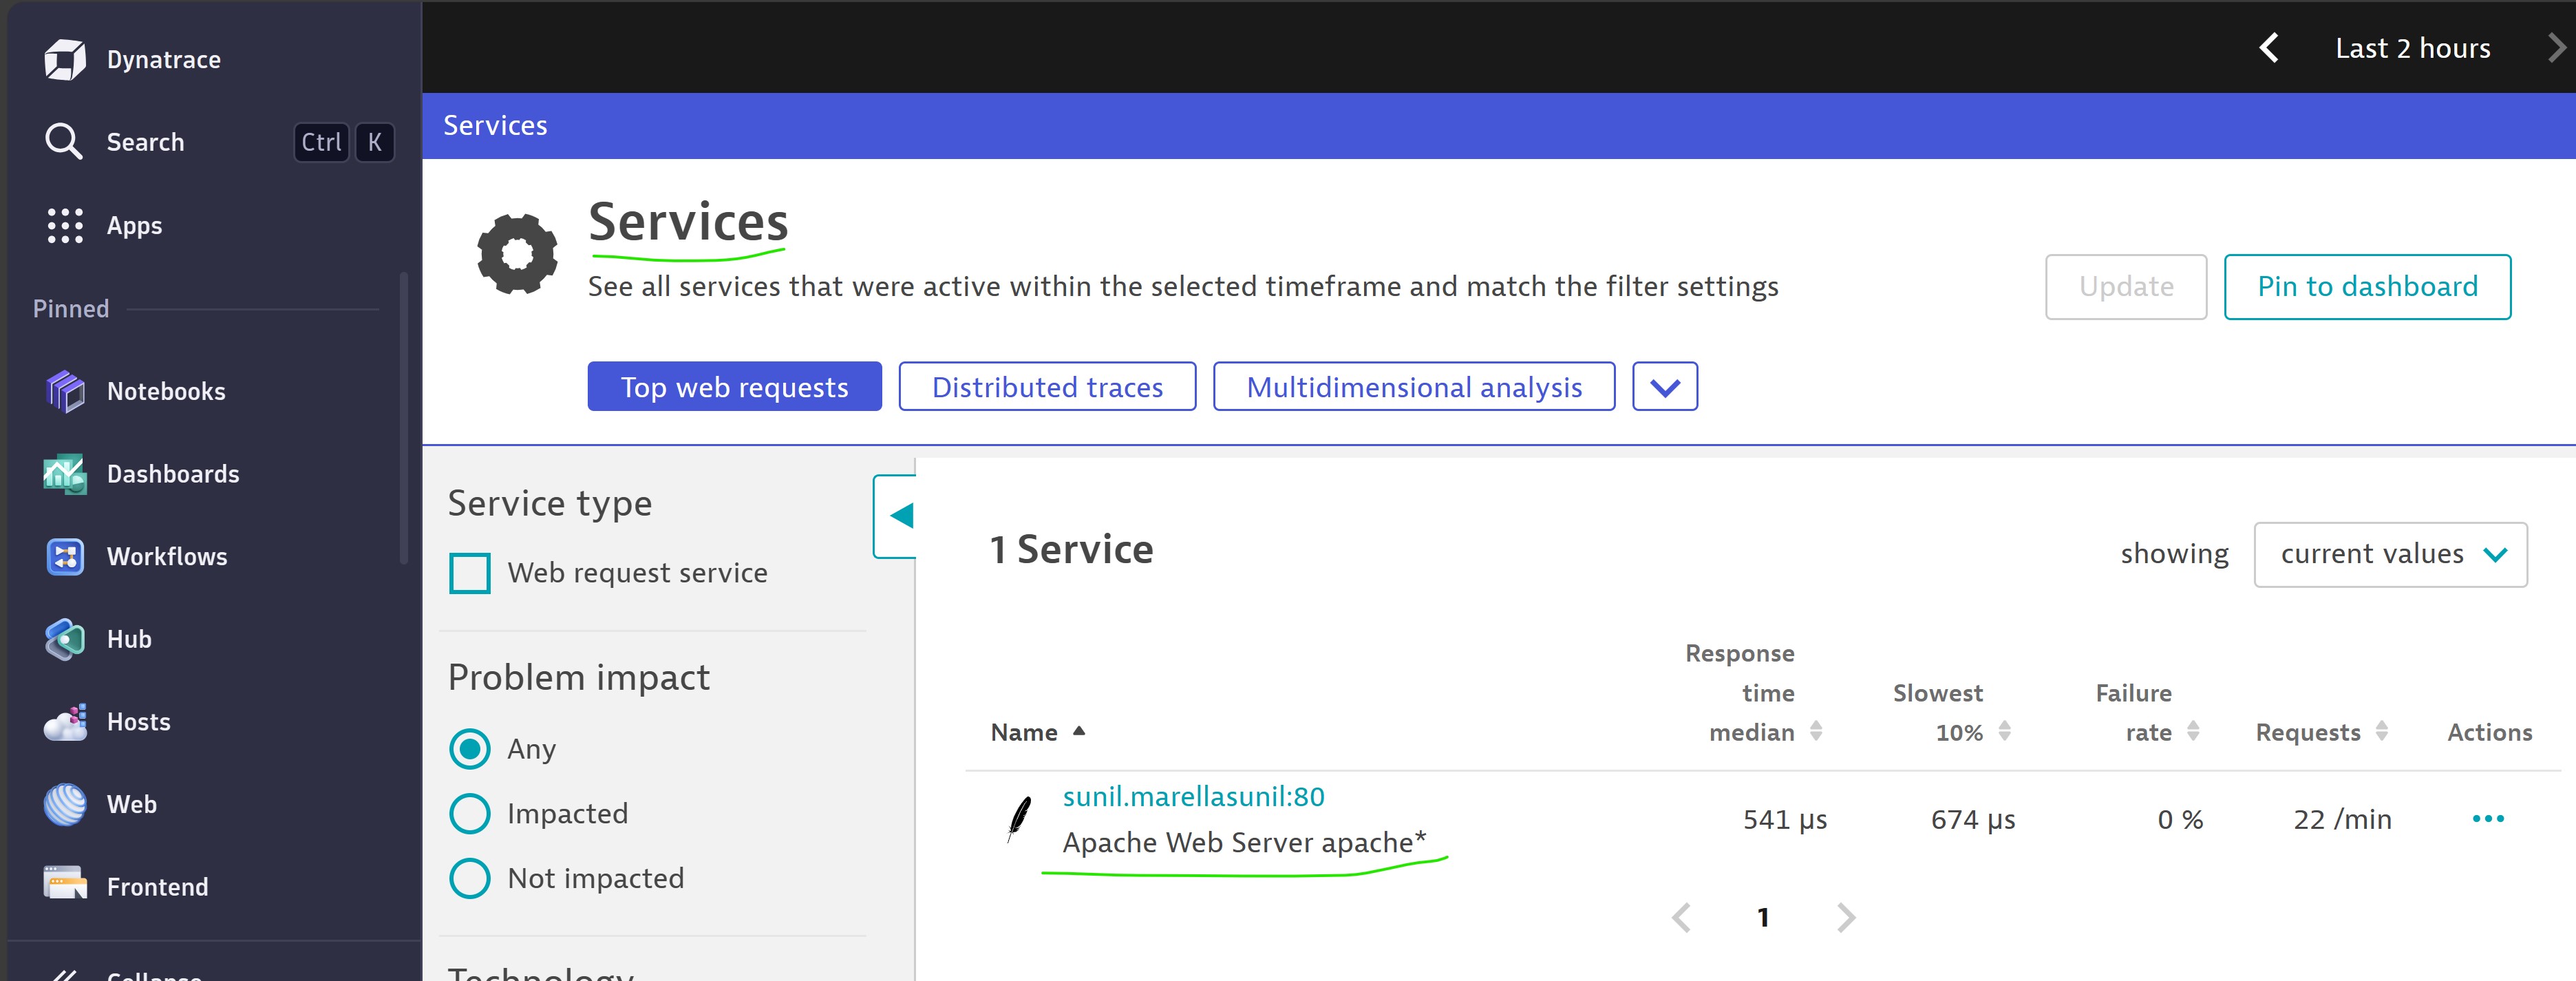
watch curl http://localhost - Go to Dynatrace UI
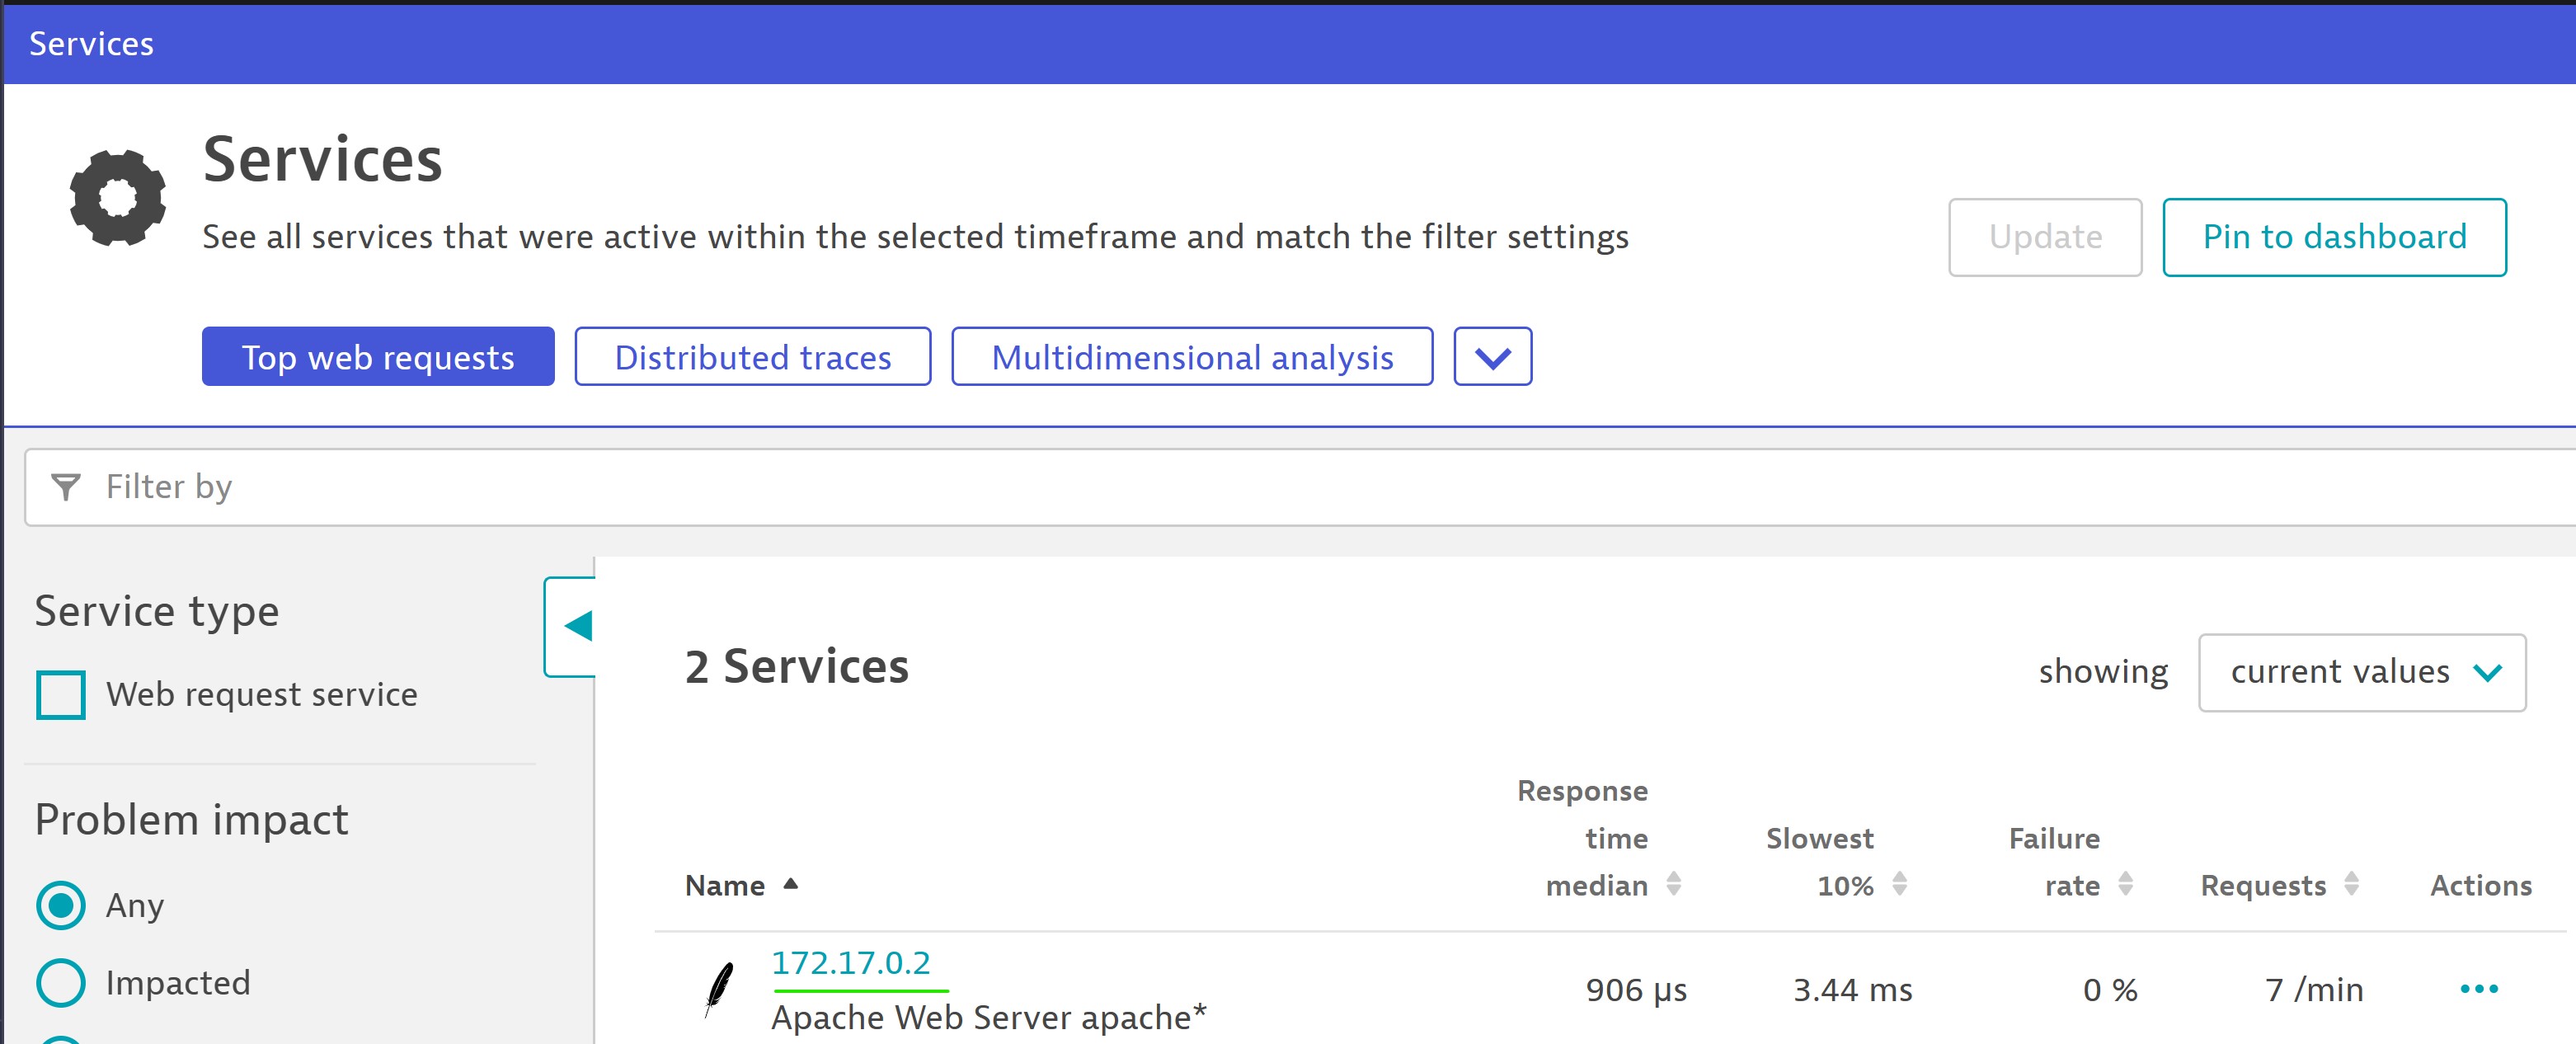
- Go to Services & check if Apache is visible.

Dynatrace UI

Apache (Docker)
- Install Docker
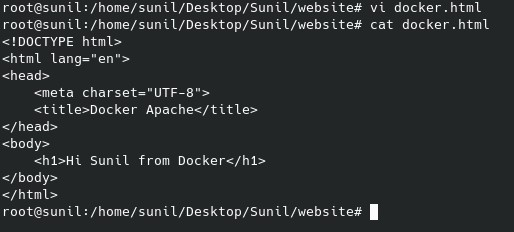
- Create Docker container, route port 80 to 8080 & link local file (docker.html) to apache file in the docker
Ex: docker run -dit --name sunil-web -p 8080:80 -v /home/sunil/Desktop/Sunil/website/:/usr/local/apache2/htdocs/ httpd:2.4

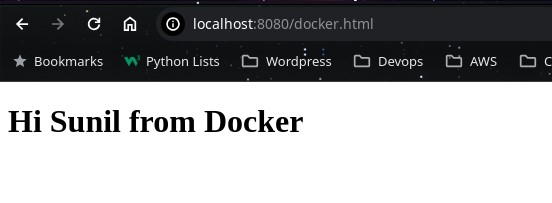
- Update docker.html file
- Access http://localhost:8080/docker.html
- Find docker container IP Address using docker command
Ex:
docker inspect --format '' sunil-web

- Generate traffic
- Find Apache running on Docker service in Dynatrace UI Services
Setup Tomcat
Below steps based on Debian based distributions
- Install Java / Openjdk (Please check tomcat documentation for supported Java versions based on tomcat version)
- Install Tomcat
Ex steps:
- Create /opt/tomcat directory using
mkdir /opt/tomcat - Install openjdk using
apt-get install openjdk-17-jdk - Change directory
cd /opt/tomcat - Download tomcat using
wget https://dlcdn.apache.org/tomcat/tomcat-10/v10.1.17/bin/apache-tomcat-10.1.17.tar.gz - Extract tomcat using
tar zxvf apache-tomcat-10.1.17.tar.gz - move all files to /opt/tomcat using
mv /opt/tomcat/apache-tomcat-10.1.17/* /opt/tomcat - (optional) remove unnecessary files
rm -rf /opt/tomcat/apache-tomcat-10.1.17* - Execute tomcat startup
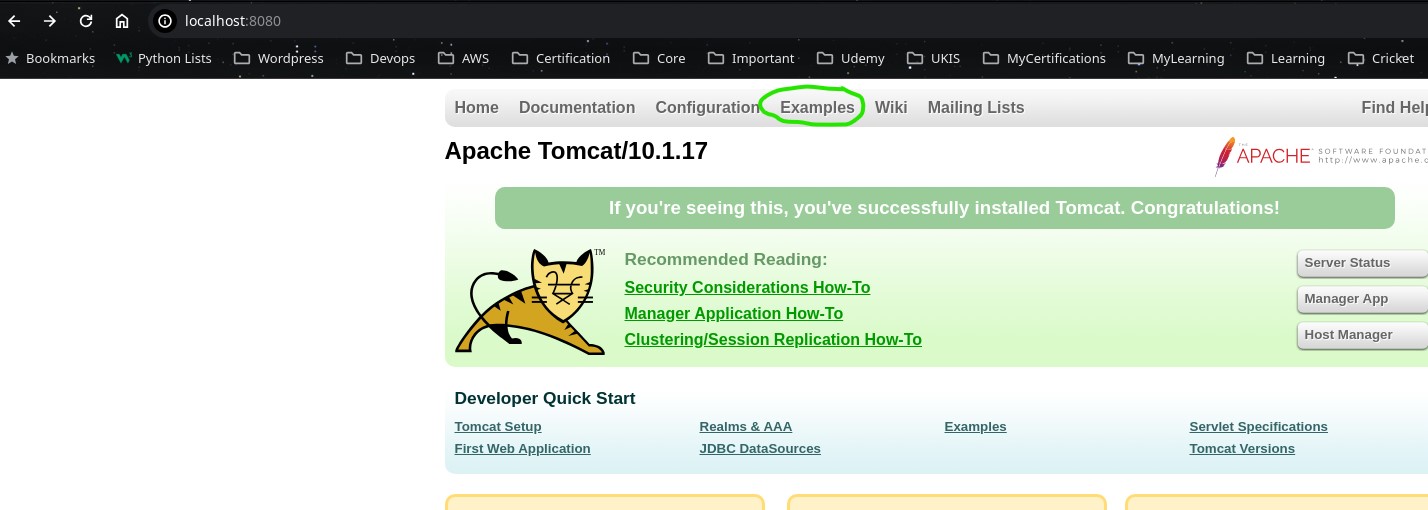
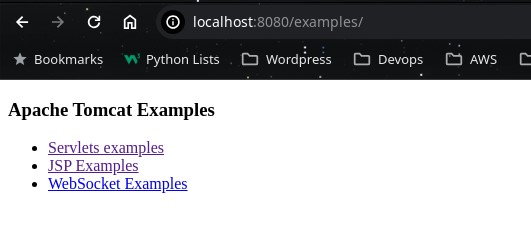
/opt/tomcat/apache-tomcat-10.1.17/bin/startup.sh - Open url http://localhost:8080 and Follow below page instructions
- Create /opt/tomcat directory using
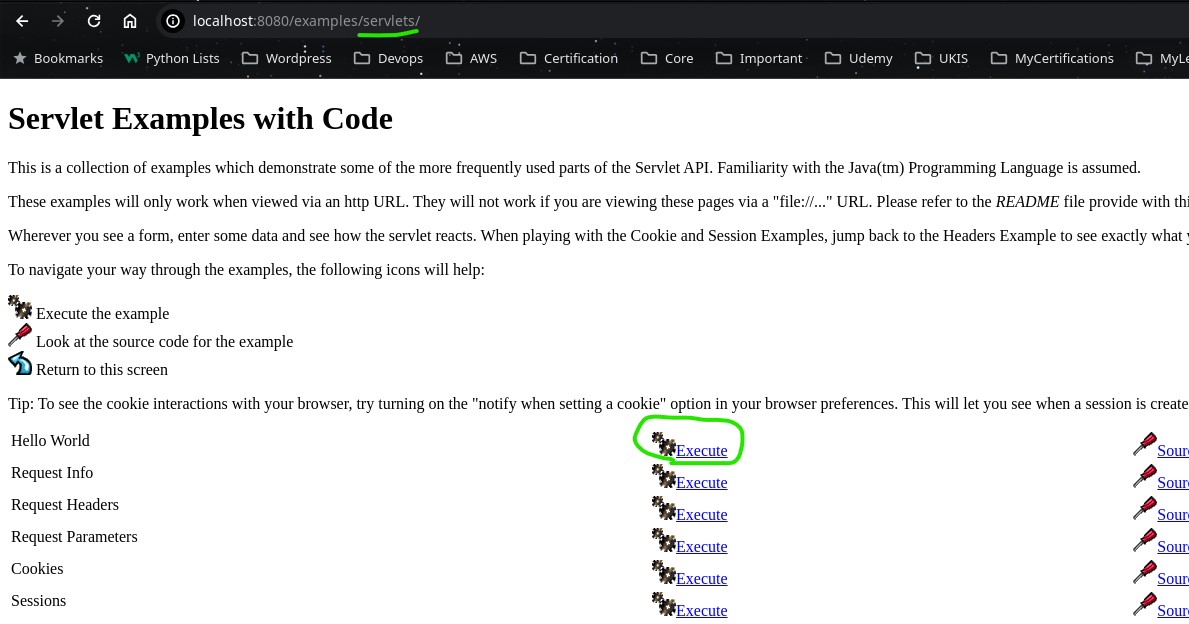
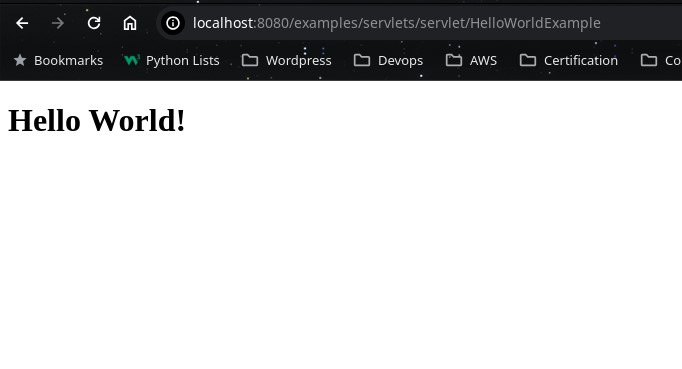
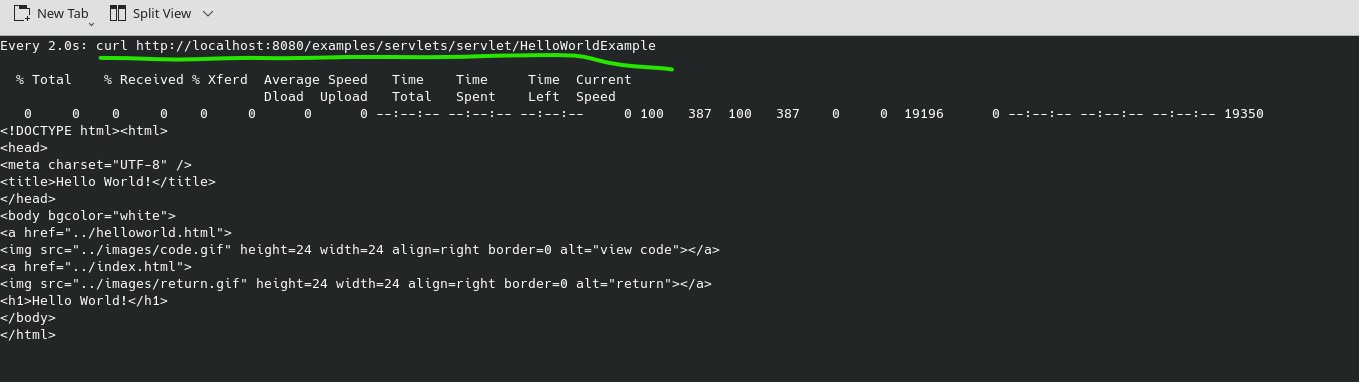

- Generate traffic using
watch curl http://localhost:8080/examples/servlets/servlet/helloworldexample - You will notice services & new application in Dynatrace Services & Dynatrace Web applications
Note: All monitoring data is encapsulated in a placeholder application called My web application. If you want to route traffic to different application (Ex: MyWeb) based on domain for Real User Monitoring, follow Application Detection Rules steps
Dynatrace : Main Page